
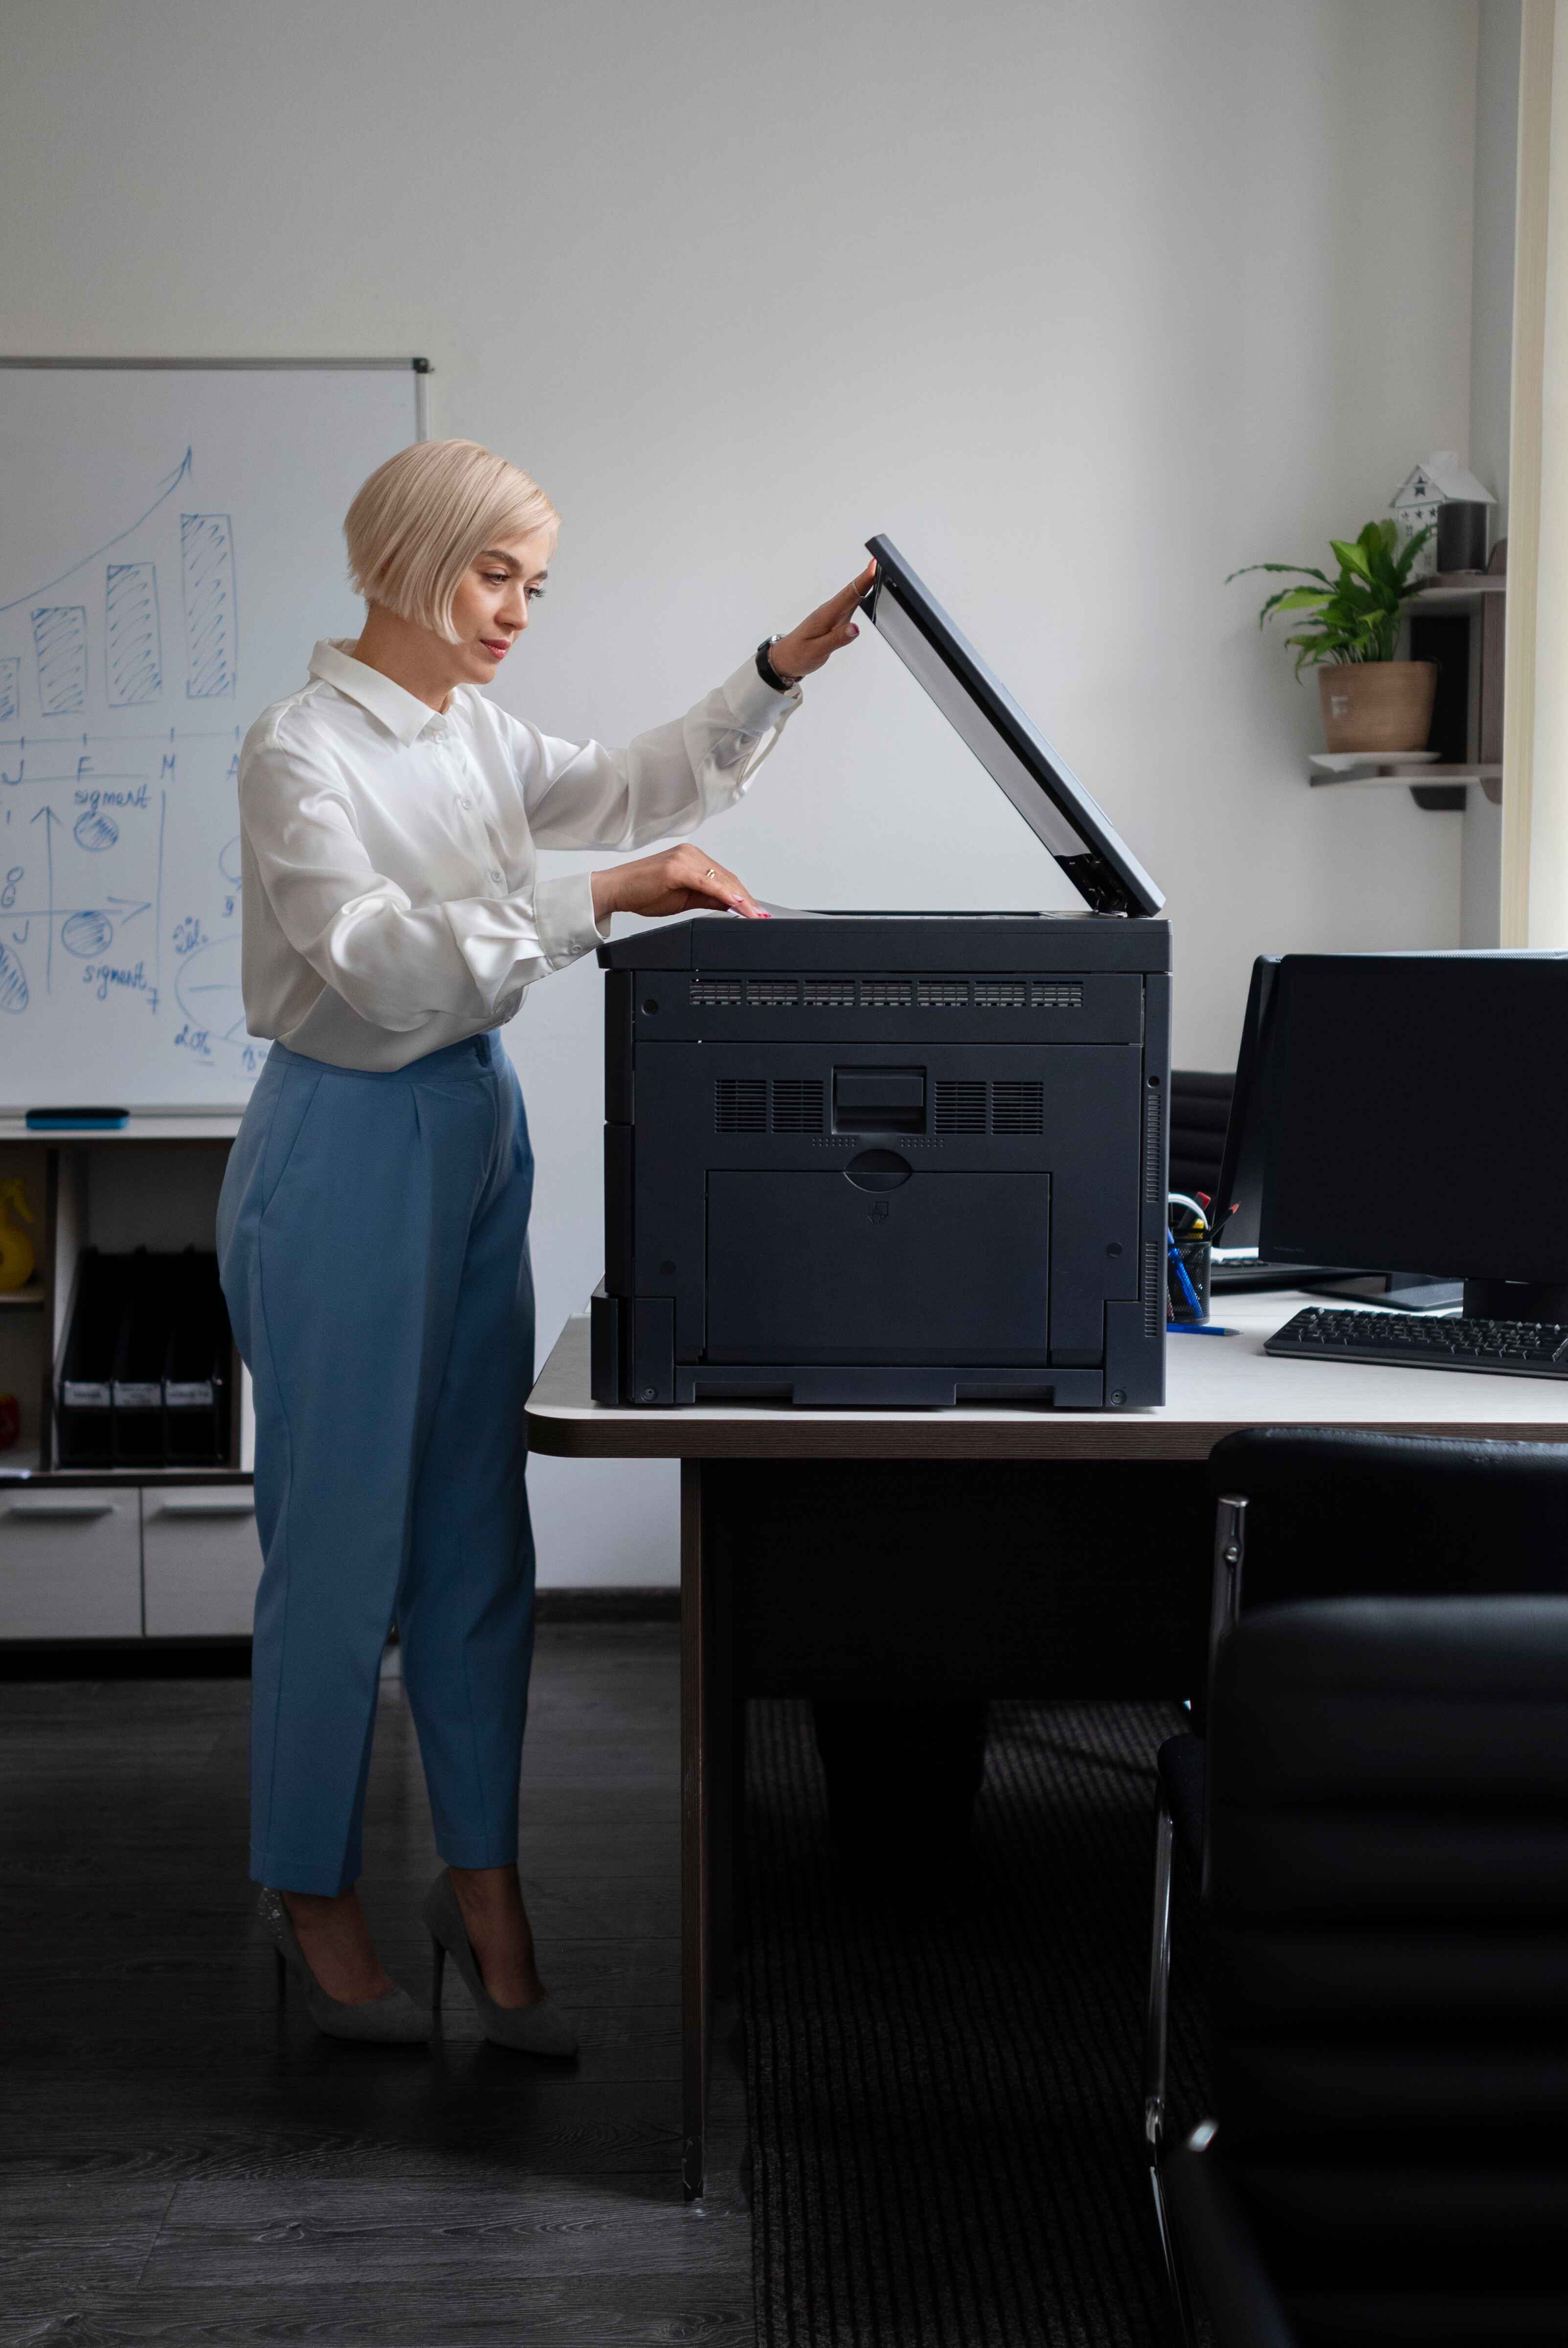
Setting up a Hp Printer can be challenging, especially for users from non-technical backgrounds. Our experts will help in this process, saving you time and effort.
Professional setup ensures that your Hp Printer operates at its peak performance, delivering high-quality prints and minimizing the risk of malfunctions.
We have expertise to set up all Hp Printers, Whether you have a basic home Hp Printer or an office network of Hp Printers.
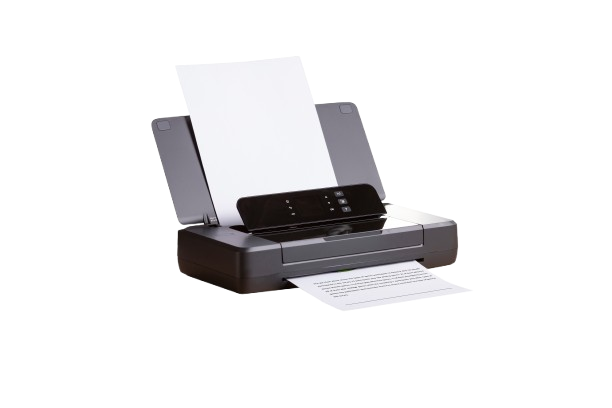
Open the box and remove all the contents. (Handle with care). Take out the Hp Printer and place it on a flat and stable surface. Remove any packaging materials, tapes, and protective covers from the Hp Printer.
Open the paper input tray.Adjust the paper width guides to fit the size of the paper you will be using. Load a stack of plain, white paper into the tray. (make sure not to overfill it).
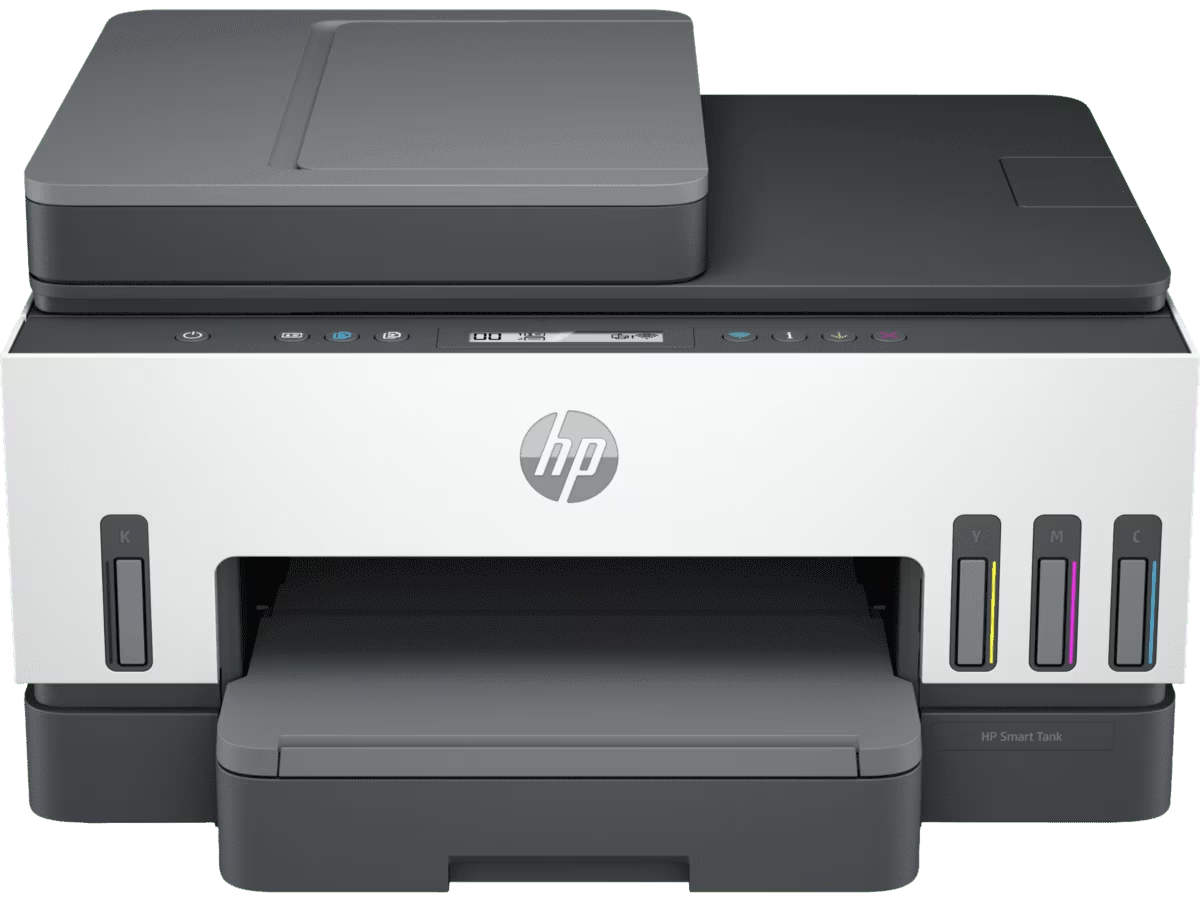
You may need to align the ink cartridges to ensure the best print quality. (If prompted by the Hp Printer or the setup process).
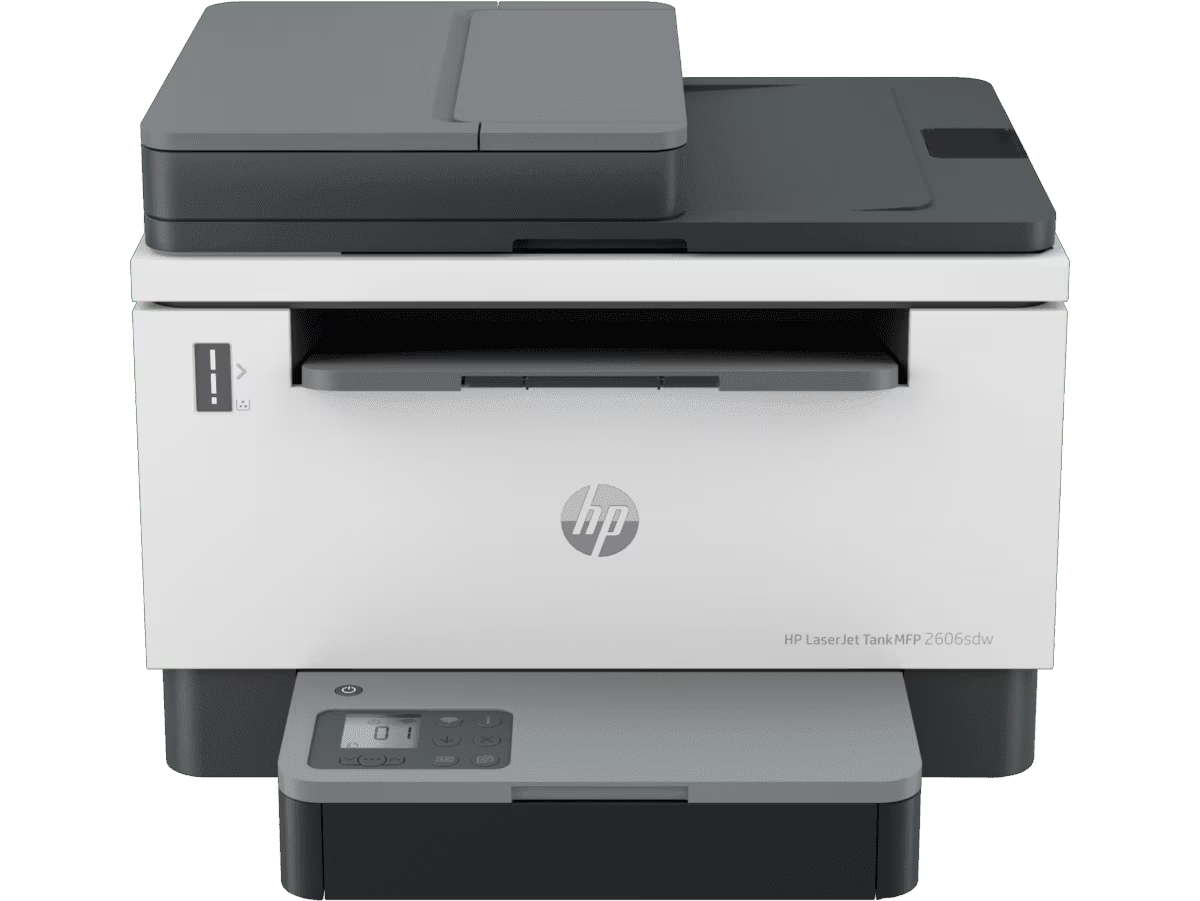
Install the necessary drivers to enable printing from your computer or mobile device. You can either download the latest drivers and software from the websipublic/website/printer-3.pngte or use the installation CD that came with the Hp Printer.


Connect the power cord to a power outlet for power supply. Locate the Power button on the control panel and Power on the Hp Printer.
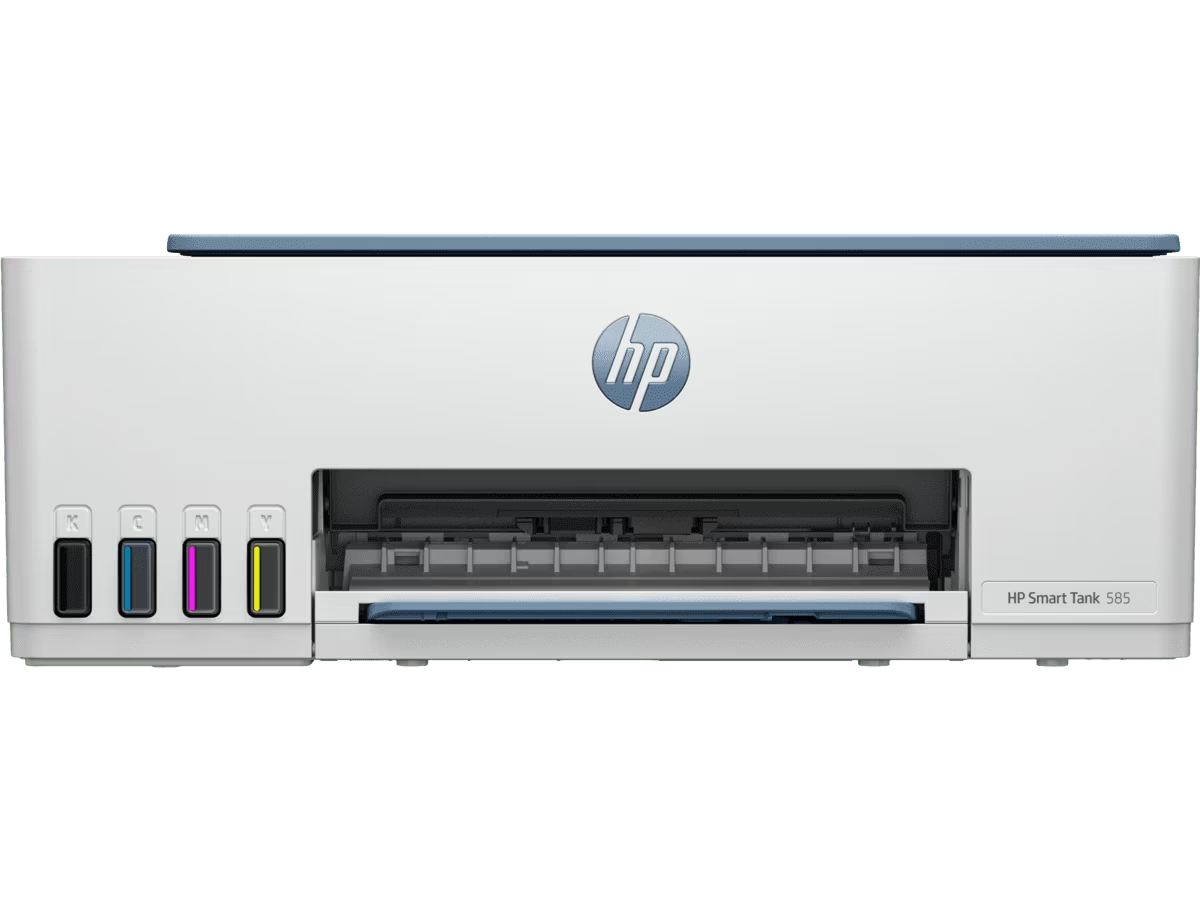
Open the ink cartridge access door. Wait for the ink cartridge carriage to move into a position where you can access it. Insert the ink cartridges into their color-coded slots.Push them gently until they click into place. Close the ink cartridge access door.
Navigate to the wireless settings or setup menu on Hp Printer’s control panel.Follow the on-screen prompts to connect the Hp Printer with your Wi-Fi network. You will need your Wi-Fi network’s SSID (name) and password.
After the drivers and software installation is complete, open a document or image on your computer and select your current Hp Printer as your default Hp Printer. Print a test page to make sure that the Hp Printer is working correctly.


We provide setup services for Hp Printer brands covering both wired and wireless Hp Printers.
Yes, we can help connect your Hp Printer to multiple devices like PCs, laptops, smartphones, and tablets for seamless printing across all platforms.
Absolutely! We offer remote assistance for Hp Printer setup, driver installations, and troubleshooting to ensure quick and hassle-free service.
The average Hp Printer setup takes 30–60 minutes, depending on the type of Hp Printer and the number of devices it needs to be connected to.

We are not associated with any brand or brands, We are an independent third party blog team of printer-setup.info all the information provided on the website is for educational and informational purposes only. We disclaim any ownership and are not liable for any product warranty issued by the manufacturer.
690 North broad Street , Middleton, DE 19709
info@printercareservices.store